
Raiza Newberry-Quiroz
In May, Pump Studios took part in the Ann Richard’s, School For Young Women Leaders, junior internship week.
We had the opportunity to host two high school juniors and provide them with real-world work experiences in an educational context. Throughout their week with us, the two girls were tasked with creating a “toolbox” that held at least two tools and had two functioning parts. We defined tools loosely. The girls were asked to bring in “tools” they use in their daily life or hobbies that they would like to create a box around.
Below are Amrutha’s and Valeria’s experiences in making their boxes.
Amrutha’s Box
Who is your client or intended user?
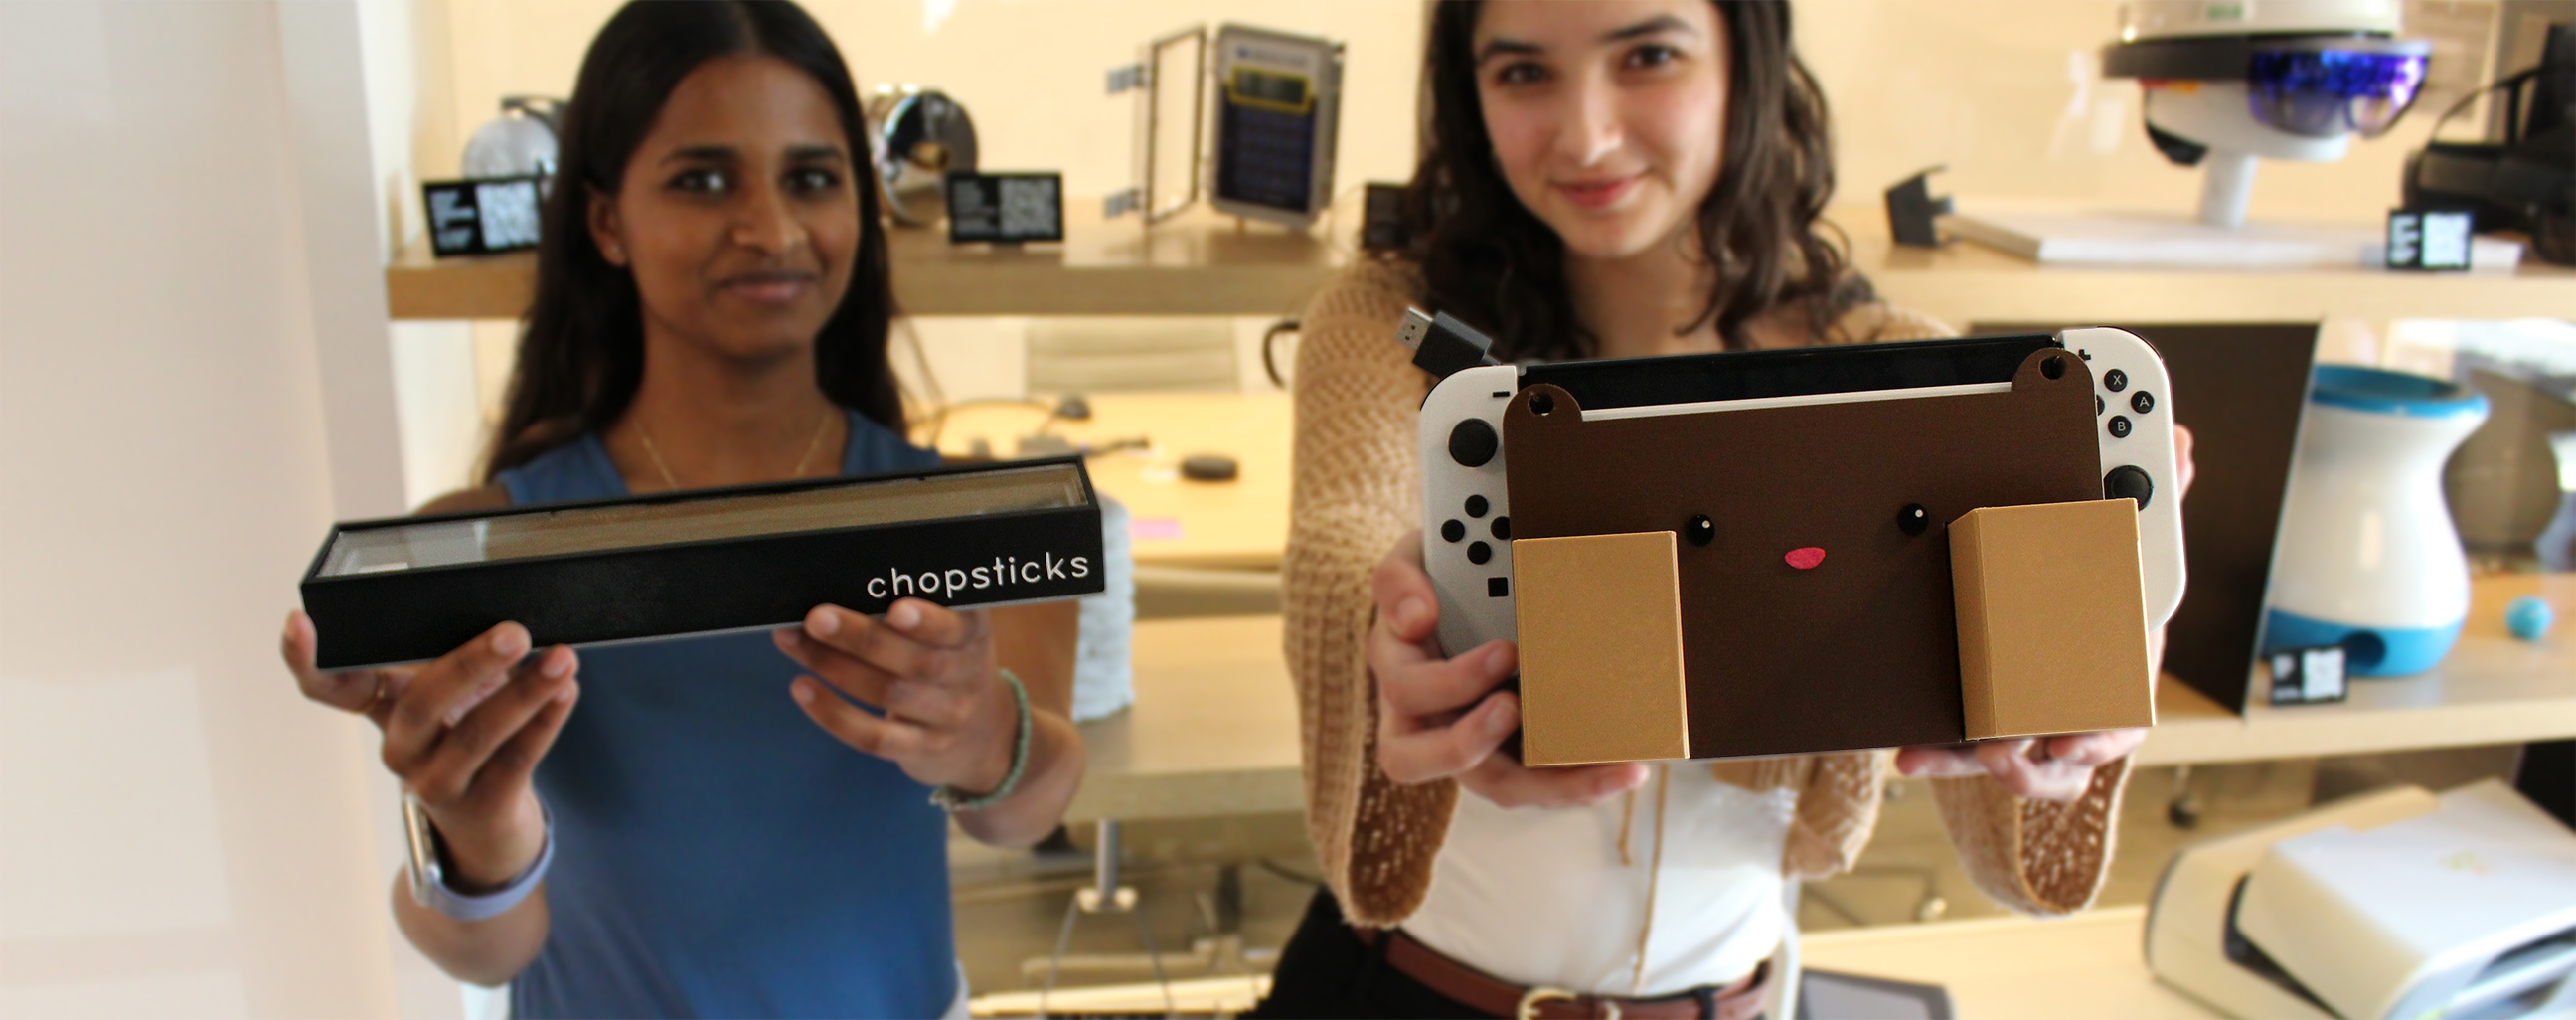
For my box, the client was anyone who enjoys Asian cuisine, myself, and Asian cuisine restaurant owners.
What tools does your toolbox hold?
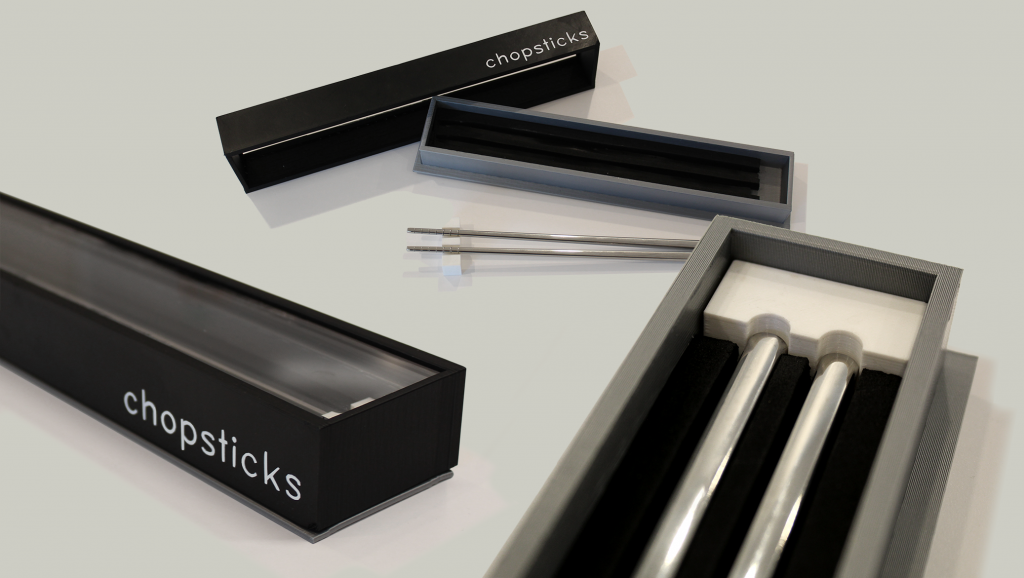
The tools that go into my toolbox are chopsticks and a chopstick rest.
Describe your design process in developing the toolbox:
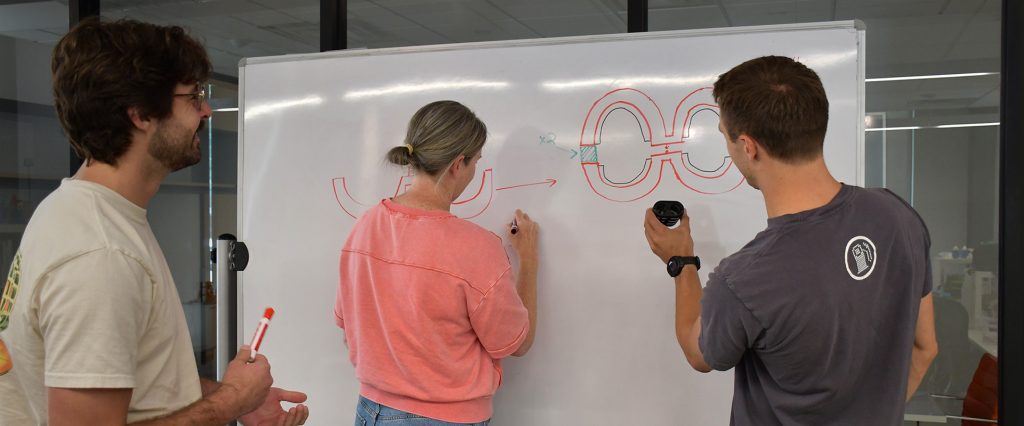
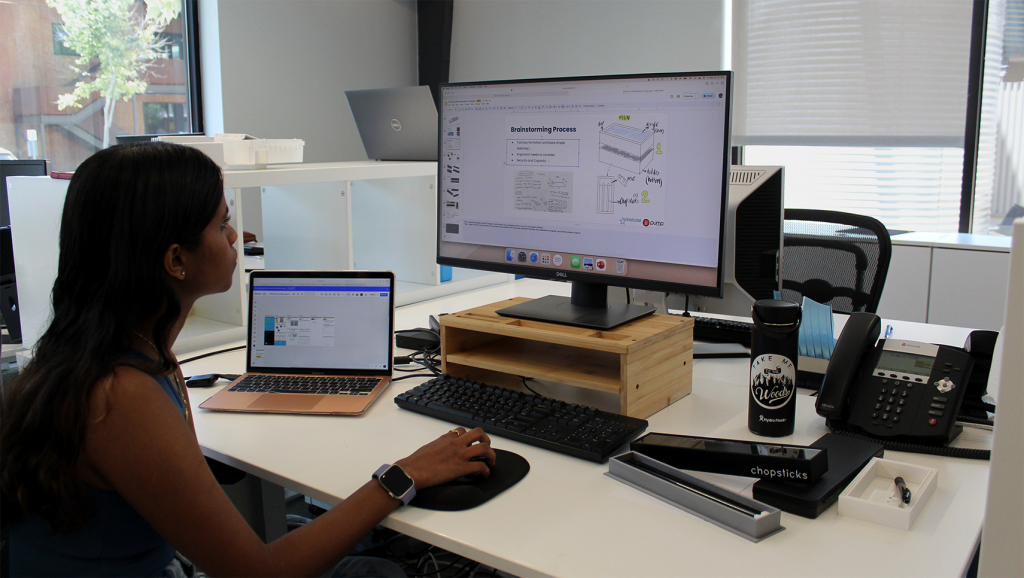
My brainstorming process was trying to figure out what kind of shape I wanted the box to be. I was playing with the idea of a rectangular prism or having a more oval shape like a bento box. Then I had to address the other questions, “Am I going to have a lid or is it going to flap open and close?” And then, “Should I include the {chopstick} rest inside the bottom part?”, and “Where would the chopsticks go?” That was mainly what I was thinking about when designing my box. And then the security and capacity of how the chopsticks would sit in the box. I ended up not going with the oval shape because the chopsticks took up a lot of space. Versus with the rectangular shape I had enough space to fit everything.
What did you learn during the design process?
Throughout the process, I learned that using modeling constraints are really, really important in Onshape. I don’t like using constraints that often but it helped a lot in this project.
What was the outcome, and how would you approach the problem if you started over?
We only had time for one 3D print, but if we had more than a week, my next steps would be to make an easier way to dispense the chopsticks. It was someone’s idea, I think it was Parth’s during our brainstorm, to put in the chopsticks and they would get cleaned at the same time. So it’s more efficient and cleaner than it is right now. Which was interesting, but I didn’t try that idea. So, that would be my next step.
Valeria’s Box
Who is your client or intended user? What tools does your toolbox hold?
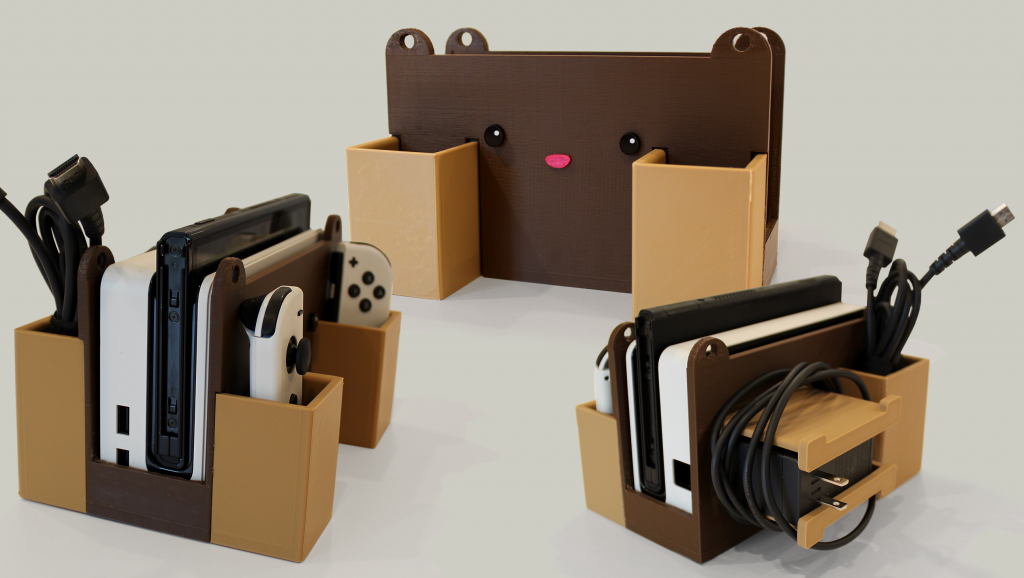
Before starting we had been told to pick a client and what tools the box would be for. I don’t ever leave the house without my Nintendo Switch. For my box, I really wanted something that would make moving around the dock and the cables a lot easier for me.
Describe your design process in developing the toolbox:
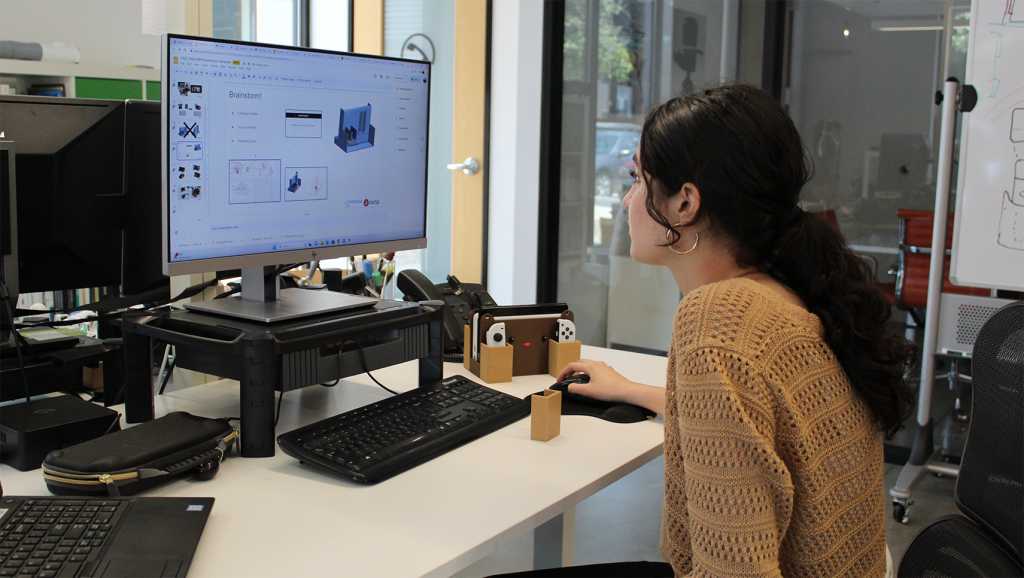
To start with, I looked at products that already existed to give me more inspiration. On Tuesday we had a brainstorm and we talked with everybody here about our designs. In my original design, I wanted to imitate the click of the joy-cons onto the switch for extra joy-con holders on the box. In the brainstorm, I realized it would be very hard to imitate because it is so small. And all the engineers told me that there were a lot of easier ways to use more of the space that I could have. So, I trashed the original design of this, I didn’t need it anymore so I started from scratch.
What did you learn during the design process? What was the outcome, and how would you approach the problem if you started over?
Throughout this process, I learned that measuring things correctly is really important. On our final day, I spent all morning filing down some of the 3D parts so that the Switch’s dock could fit in its holder. I also learned that fancy glue is really strong. Because I glued a piece the wrong way the first time. If I were to attempt making my box again, I would avoid glue, I’d use a snap-in method. Where the charging cord holder would snap in with hooks. But for my next steps, I’m going to attach a handle to carry it.
As with everything we do at Pump, we prototyped the project before we gave it to our Junior Interns. In the weeks leading up to the program, we each designed and built our own tool boxes so that when Amrutha and Valeria got here, they could see the variety of different solutions to a seemingly simple problem. We ended up with 8 unique tool boxes that highlight all of us. Stay tuned in the upcoming weeks to see the boxes our team created, and get a peek into the talent we have working here at Pump.