
Raiza Newberry-Quiroz
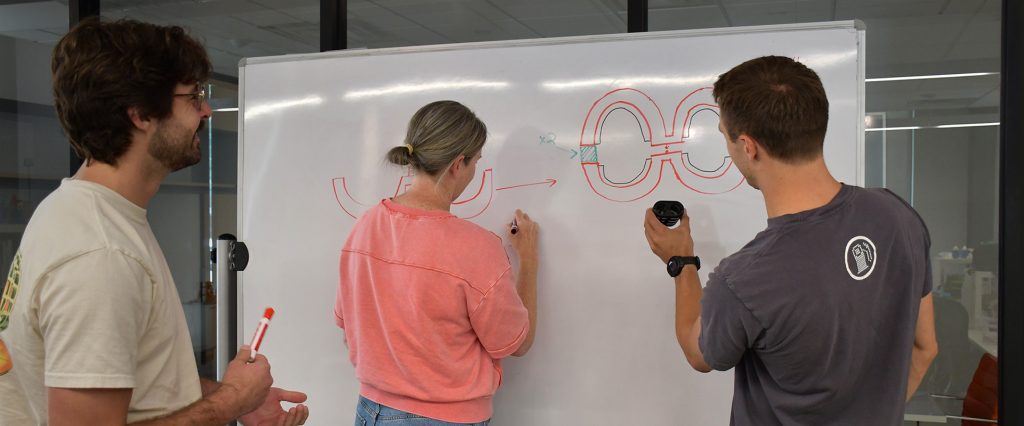
In preparation for our two junior interns this summer, we tested their design challenge on ourselves. It was a rush, getting through all the steps of the design process; brainstorming, sketching, CAD, prototype iteration all in just one week to match Amrutha’s and Valeria’s short time with us.
We originally gave the Pump Studios team the challenge of designing a 4” x 6” x 2” container, consisting of at least two parts, that could hold two tools. The requirements were set to help reduce printing size and accommodate a fast turnaround time. As we all got going, we found relaxing the size constraints helped us fuel our creativity.
Below are Libertad’s and Greg’s experiences and the outcome of their design challenge.
Libertad’s Box
Who is your client or intended user?
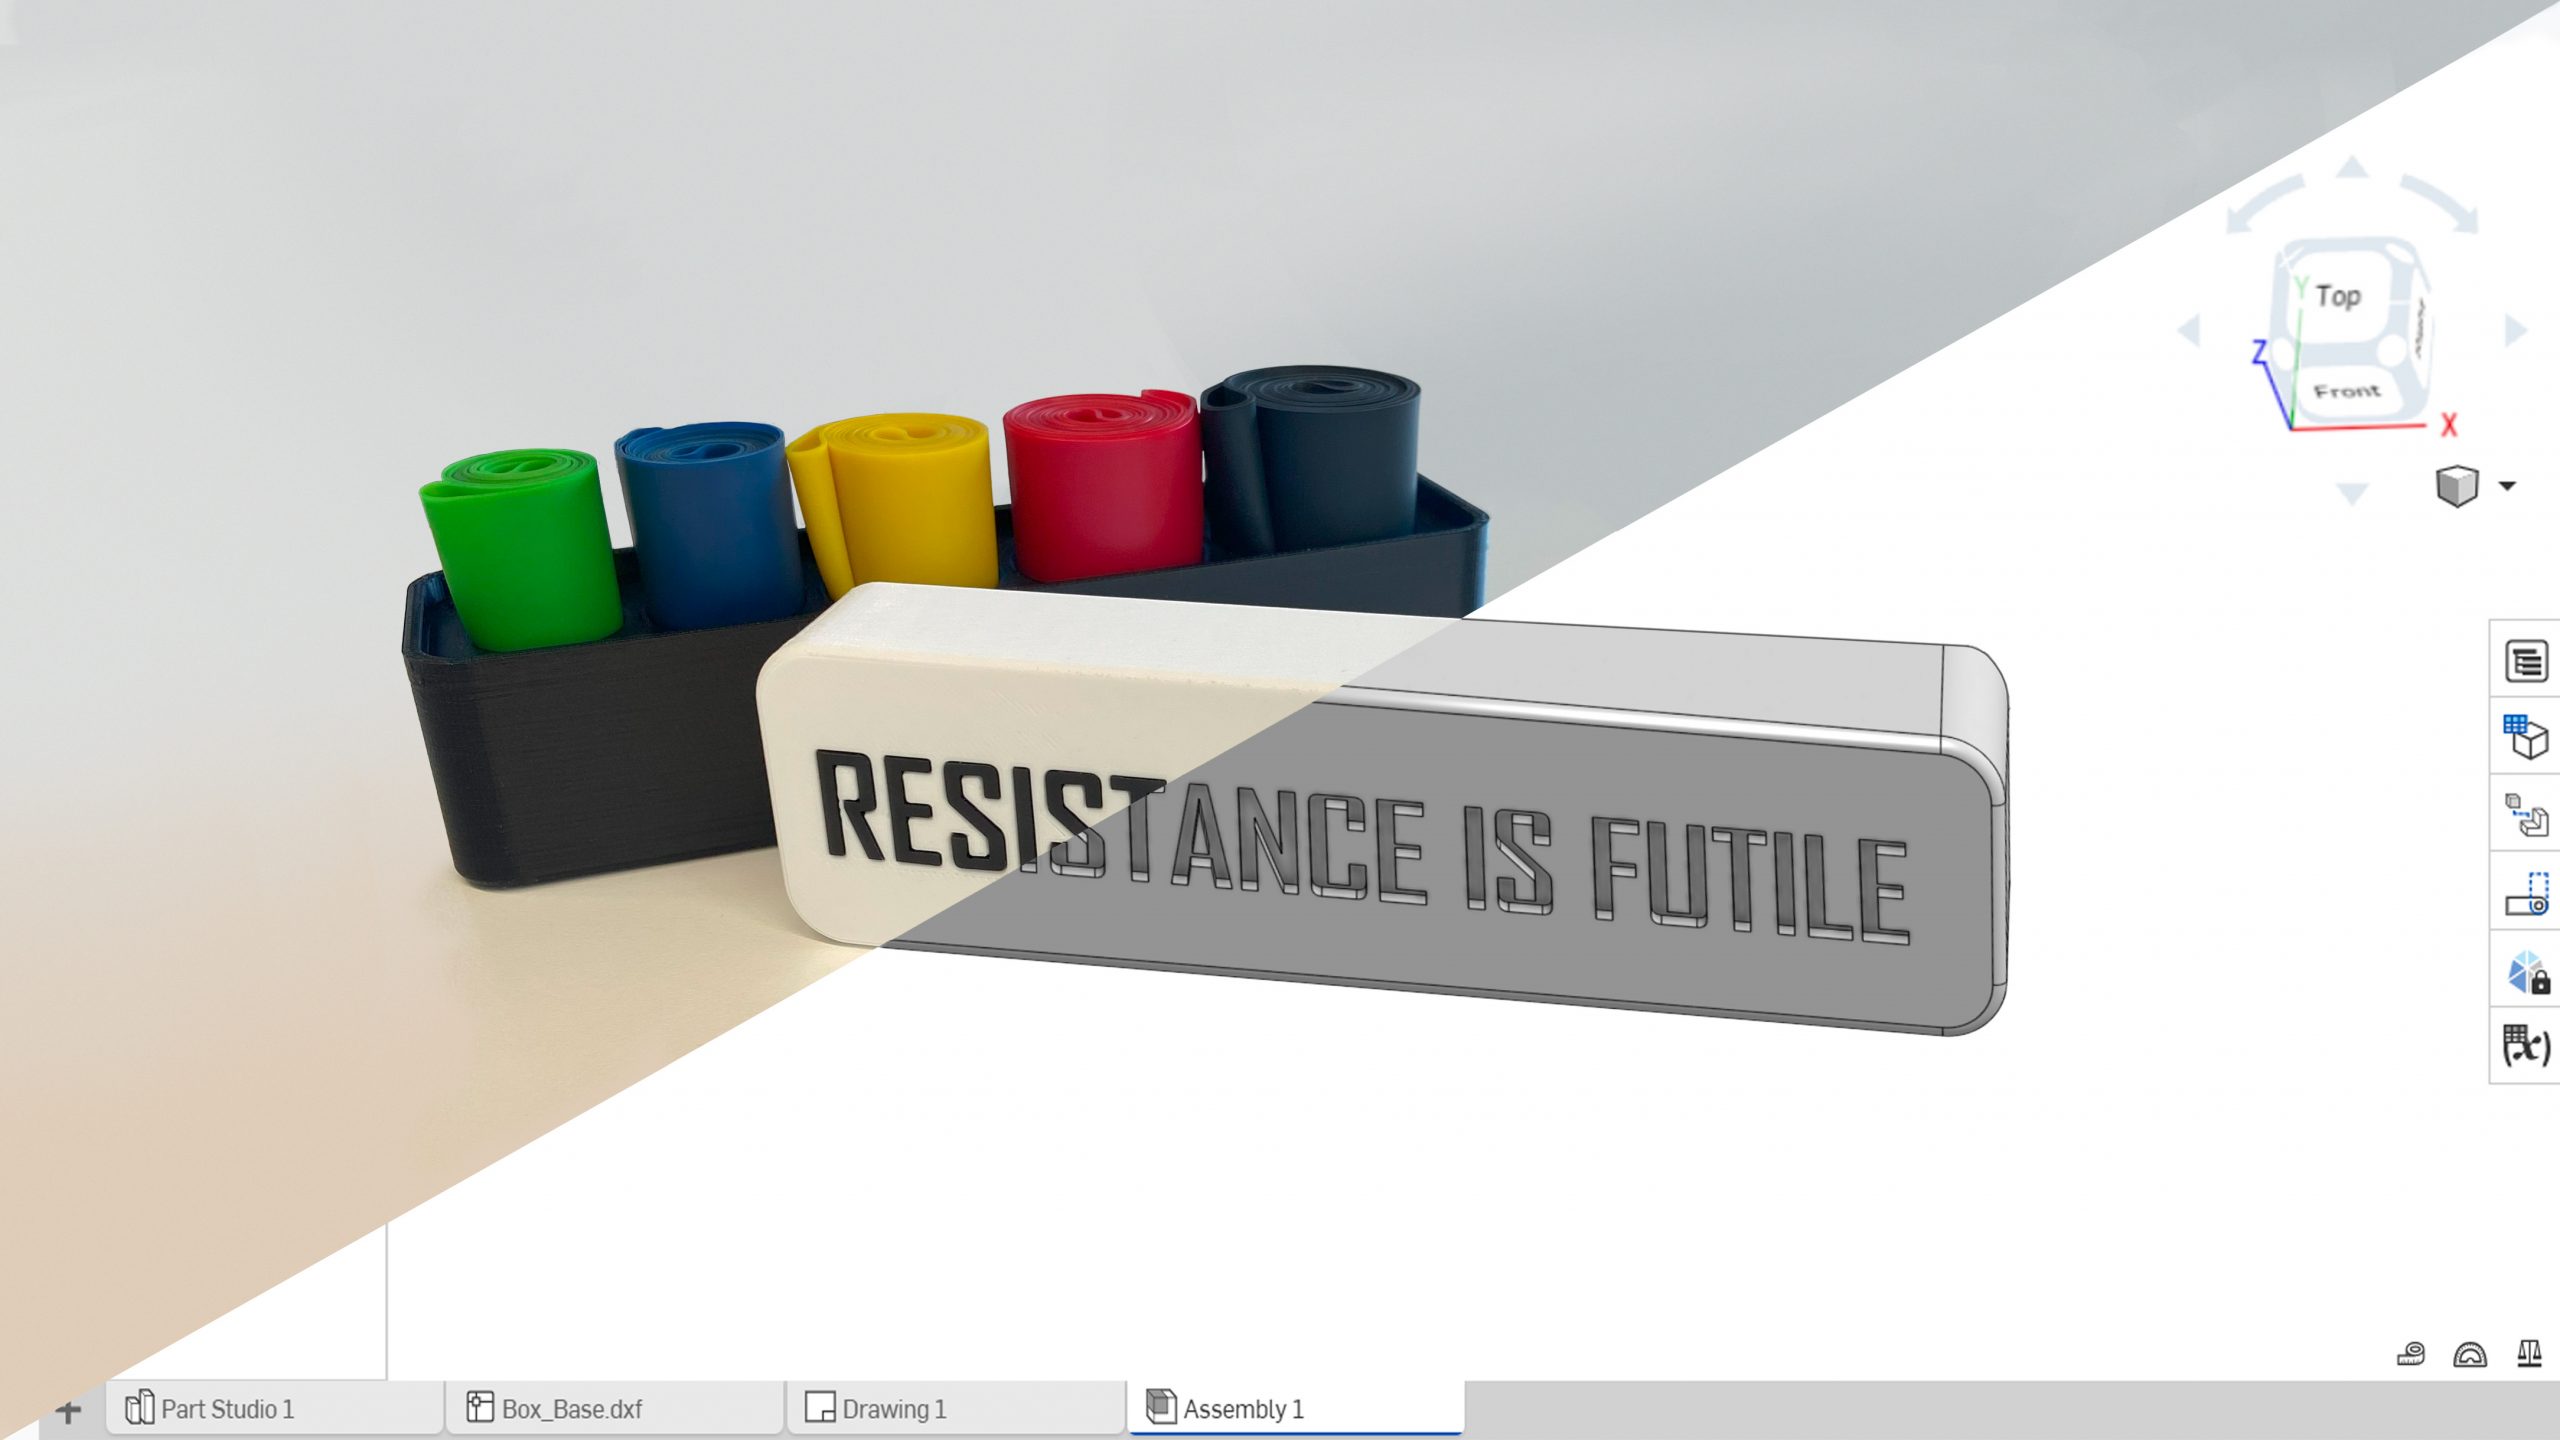
My toolbox started as a personal project for a problem I was facing at the gym. The resistance bands I use came in a plastic baggy with no carrying case. When using the plastic bag, it’s hard to take the bands in and out and find the correct one. Because I’m a very organized person, I wanted to develop a carrying case for them. As I continued to develop my box, I realized other gym users who also enjoy organization could be interested in my solution.
What tools does your toolbox hold?
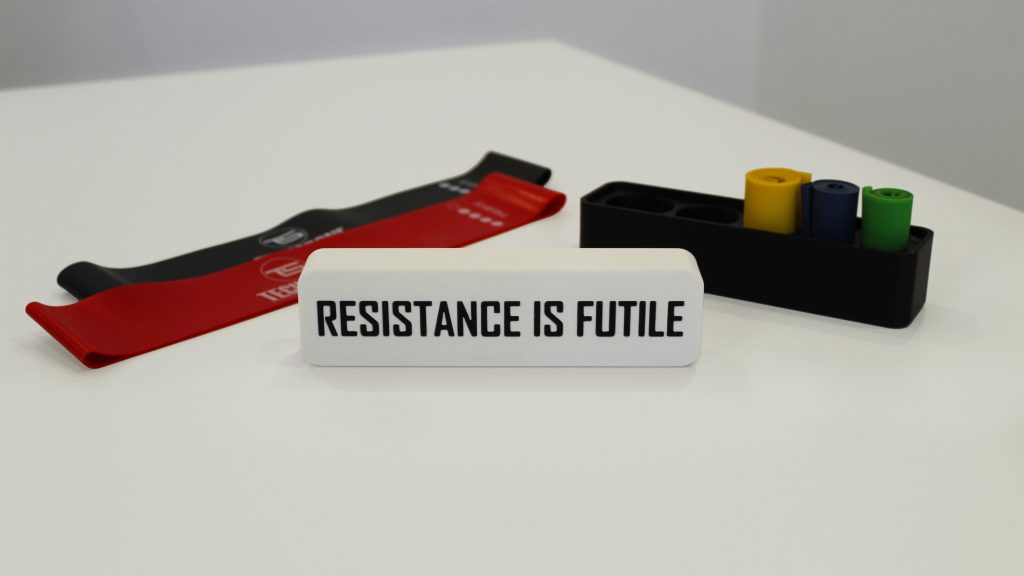
Inside my toolbox are a variety of different levels of resistance bands.
Describe your design process in developing the toolbox:
In designing my box the biggest question I explored was; How do I want to store the resistance bands? I could roll them up, put them into pockets, or lay them flat. From there, depending on how the resistance bands would be stored, that would dictate the shape of my toolbox. I decided to roll up the bands to fit them into a smaller box that would easily fit in my gym bag.
I also explored how I wanted the lid to function. I originally looked at having a set of hinged lids. Each band would have its own lid, like a weekly pill case. This would allow for each band to individually be accessed. With this option, you could optimize the design by having a clear lid so you can see which one you are taking out. During the exploration, I settled on a magnetic lid that would detach from the base which holds all of the bands.
The final design decision was related to the shape and color. My gym backpack is black and white, so that’s how I landed on my colors.

What was the outcome, and how would you approach the problem if you started over?
To test out my prototype’s capabilities, I’ve been using my box when I’m at the gym. (It actually fits nicely in my backpack.) For me functionality is important, but without compromising aesthetics. Because my box is currently 3D printed you can see all the build lines. Eventually, I’d like to order myself a nicer prototype, either a higher-quality 3D print or a CNC machined one. For that, my design would need changes based on the manufacturing process. In the future, I’d also like to explore different finishes for the box and lettering. In this version, the letters are just an acrylic that is pressed fit into the 3D elements.
If I had to start over, I would have to take into account that if a different user rolled up their resistance bands, they may have a different diameter than mine. I would have to investigate a way to improve the design so that anybody with a different set of resistance bands would be accommodated. Then, understand the impact those changes would have on size and style.
How does your box represent you as an engineer?
My box highlights my attention to detail and aesthetic design. I like making art and I have a passion for being able to bring that into my work, showing it off in my box was important for me.
Greg’s Box
Who is your client or intended user?
Me, I was the only one I thought about in making the physical box. But, of course I made this for the interns to use as an example.
What tools does your toolbox hold?
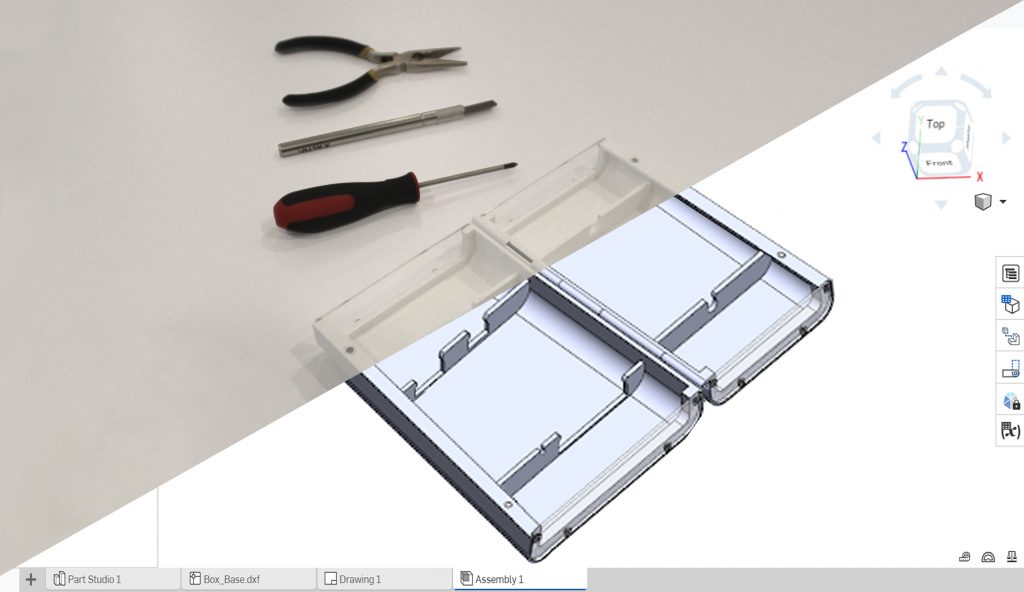
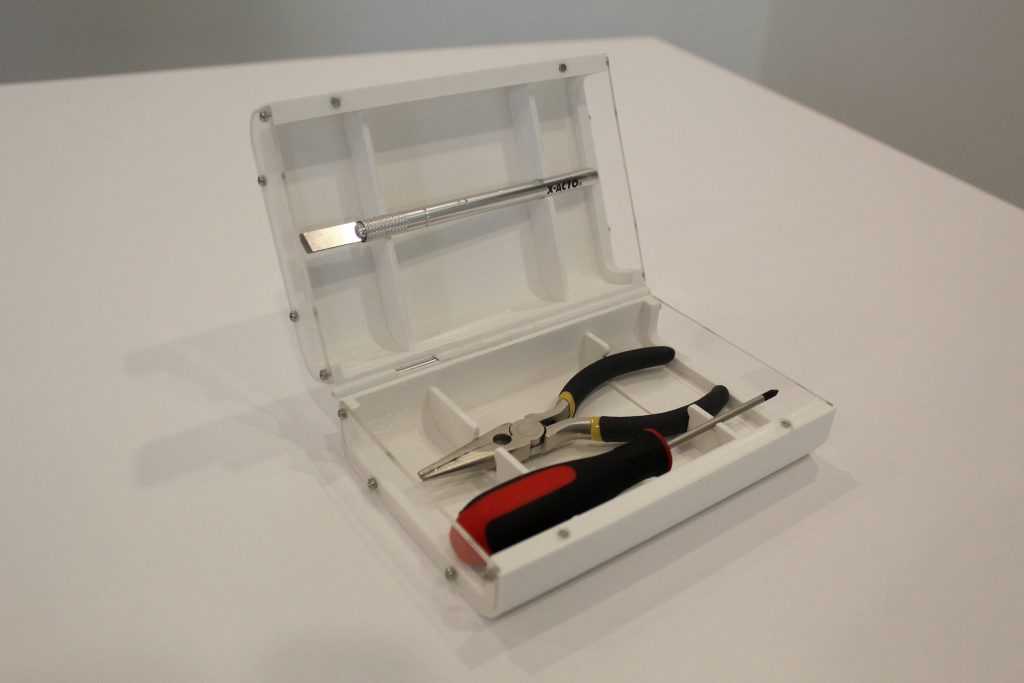
My box holds pliers, a screwdriver, and an X-acto knife. Ultimately, these are three tools that I can imagine myself taking to work on-site. I was limited on the size of the tool I chose because I wanted to fit within the envelope given in the initial requirements for the design challenge (4″x 6″x 2″).
The tools are held inside the box by a snap feature that grips the tools. The snap feature seemed like the simplest way for the user to get the tools in and out.
Describe your design process in developing the toolbox:
I wanted to design a simple box while meeting all the constraints. The goal was to produce something the junior interns could look at and use as an example in creating their own boxes.
My design process was; ensure there was enough room for the tools I had chosen, have a feature to hold the tools, meet all the requirements, and use skills I learned when I interned here at Pump. I wanted to show the junior interns, “This is what you can learn here, try to utilize all these tools while you have access to them.” These are tools and techniques such as the Glowforge, press fitting magnets, heat stake inserts, using a magnet connection for closures, 3D printing, and some surfacing.
What was the outcome, and how would you approach the problem if you started over?
If I had to change something in my box, I’d make the magnets sit deeper to accommodate the hot glue. With the hinges, I would make more room for the pin, so when inserted they wouldn’t crack.
Ultimately, my box did what I wanted it to. If I did It again, I’d try a completely different path to see what a contrasting project I could create.
How does your box represent you as an engineer?
I’m multidisciplinary, like a jack-of-all-trades, and I tried to show that in my box. It uses 3D printing, laser cutting, heat staking, magnets, and a mechanism for mechanical movement. It shows a little bit of my skill in multiple areas.
Stay tuned in the upcoming weeks to see the remaining 6 boxes our team created, and get a peek into the talent we have working here at Pump.
To download printable files for Greg’s toolbox, visit our Thingiverse page.
More Installments of the Design Challenge
Pump Engineering Calculators