
Raiza Newberry-Quiroz
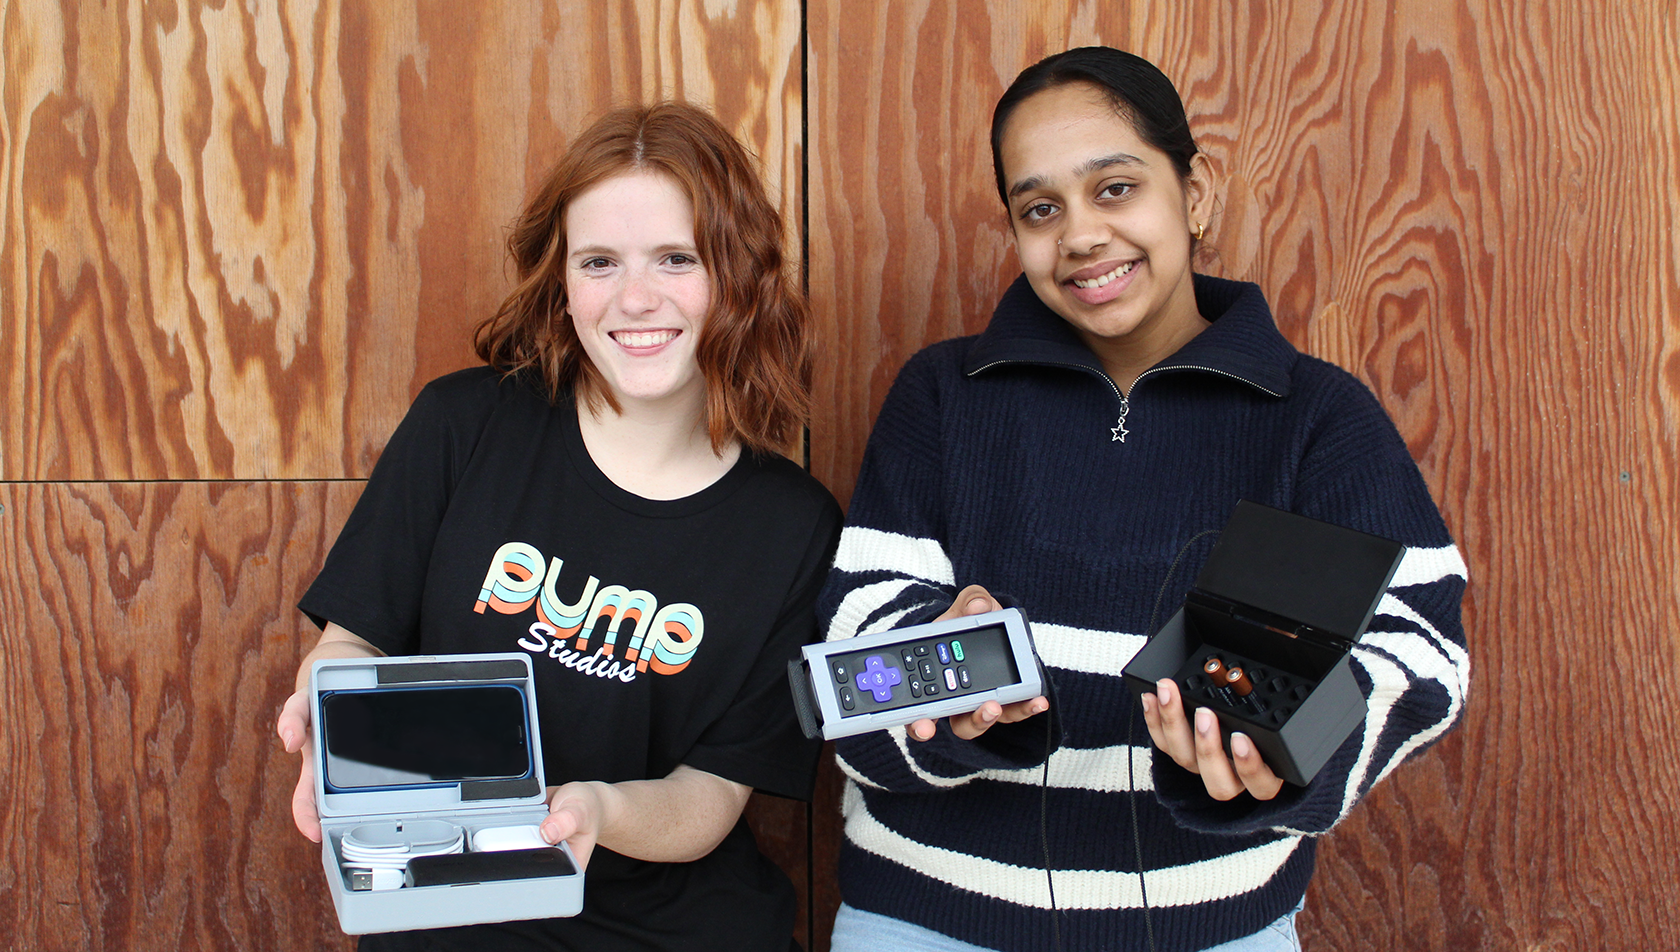
This year marked our second year hosting two junior interns from the Ann Richards School for Young Women Leaders. Throughout their week with us, Iris and Sivi were tasked with designing and 3D printing a toolbox that holds items that they use in their daily lives.
Below are Iris’s and Sivi’s experiences as they tackle the design challenge.
Iris’s Box
Who is your client or intended user?
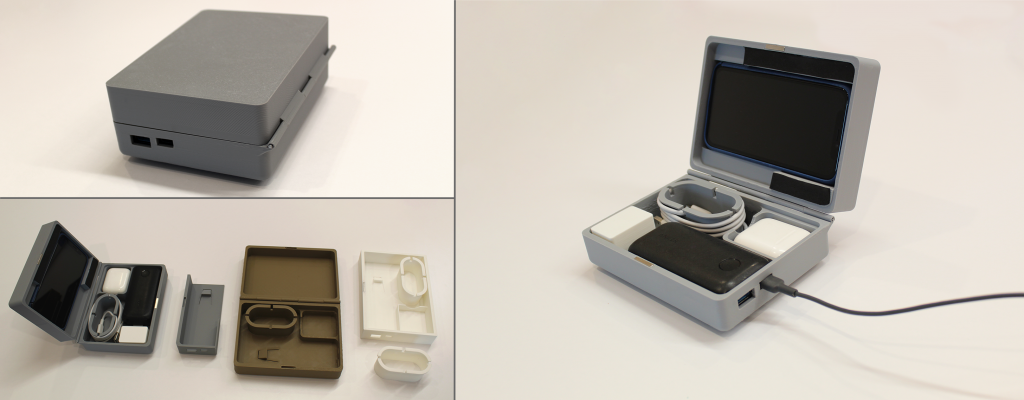
The original client for my toolbox was my dad. He watches a lot of football on his phone (because the rest of my family does not like football). So I wanted to make a box that could hold up his phone for him instead of him having to hold it the whole game.
What tools does your toolbox hold?
A portable charger, wires, my AirPods, and my phone.
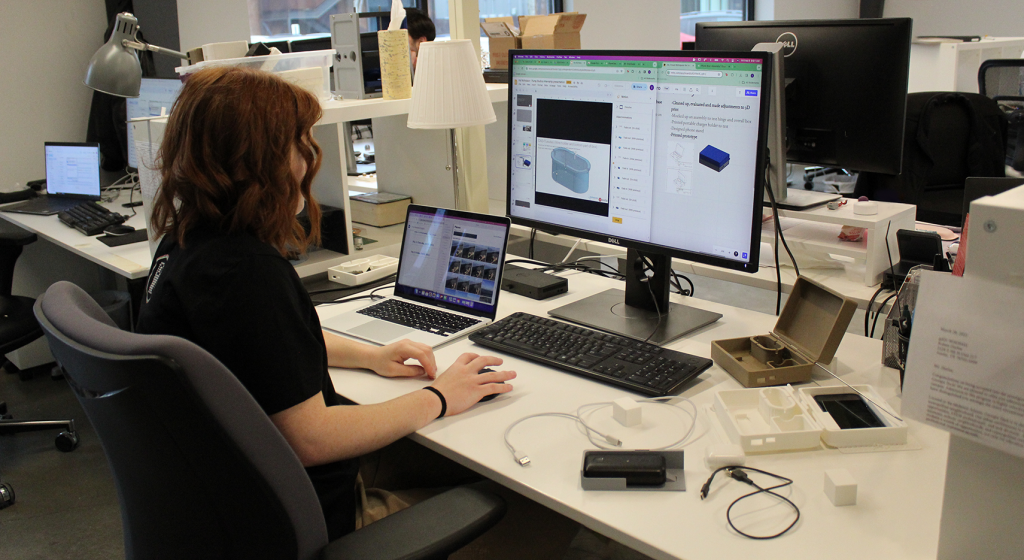
Describe your design process in developing the toolbox:
I started by modeling the ‘tools’ that would go into the toolbox (my AirPods and my portable charger), so I could design my box around them. Next, I worked on the wire holder. I based my design on what I saw in Parth’s box because I liked how it worked. Once I had the internal parts designed, I finished an initial design so I could get my first full print done overnight.
Based on my first print, I started working in CAD within an assembly to see how the hinges would function before printing the final prototype. I decided to implement a phone holder inside the box rather than on the outside because I liked having a smooth exterior on the lid. By expanding the lid, I was able to fit the phone on the inside of the box, which serves as a phone stand when open.
What did you learn during the design process?
I found I was struggling to get the holes in the box to align with the ports on the portable charger. To explore this, I made a mini prototype (printing only the section of the box with these features), this way I was able to iterate the design until the holes aligned. Throughout this process, I learned that every little measurement can affect the outcome. When I changed the floor thickness of the box to make it more rigid, it changed the height of my charging holes. Printing only a section of my design (just the walls, floor, and holes for the charger) allowed me to evaluate what needed to change. This process also helped me understand the relationship between dimensions within my design.
What was the outcome, and how would you approach the problem if you started over?
When I made my box, I designed it around my phone. My next step would be to make it fit my dad’s phone, or even better, any phone.
I think for future iterations, I would go back to my original thought of having a phone stand that would pop up on the top of the box so that the space inside the box could be used to hold other accessories and eliminate some bulk.
Sivi’s Box
Who is your client or intended user?
My family and I watch movies a lot together, but we always lose our remote control. So, I designed this box to ensure that we couldn’t lose it.
What tools does your toolbox hold?
A roku remote control and batteries for the remote control.
Describe your design process in developing the toolbox:
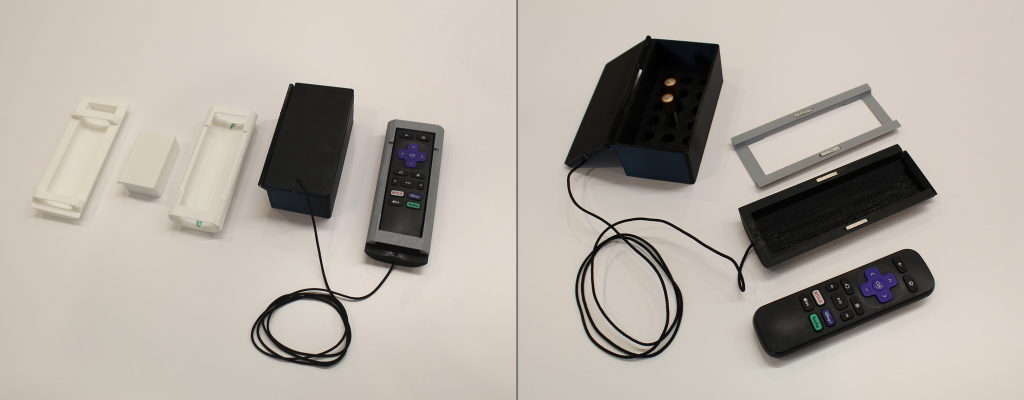
I started by looking up products that might be similar to my ideal toolbox. None of the solutions I found, would prevent you from losing your remote. I decided to have a separate battery holder that would be stationary and connected to the remote, rather than just having a static station.
My design process was: to try something, see if it worked, and edit. Initially, I had planned for the 3D-printed case to follow the curvature of the bottom of the remote. When I tested my first print, there was a significant amount of wobble that was created by the round back on the case. For later iterations, I flattened out the base. After my first print, I also realized I didn’t like the proportions of the battery case to remote, or having multiple front panel pieces to hold the remote in place. We brainstormed, looking for new solutions, and I decided to go with a single piece over the top of the remote. I also chose to design space for more batteries.
What did you learn during the design process?
I learned a lot while working in CAD, with the help of Libertad, optimizing how to create models in Onshape. I also learned a little bit more about testing prototypes, how to identify what would need to be changed, and how to implement those changes.
What was the outcome, and how would you approach the problem if you started over?
I would look at different ways to make the remote control holder. Instead of making rigid pieces that attach, I would like to make the remote control holder out of silicone. I plan to also look into using a retractable wire connecting the remote and battery box for future iterations.
Specific to this box, I would redesign the hinge on the box, because it’s a little too loose right now.
To download printable files from our previous installments, visit our Thingiverse page.