
Kevin Keller
Let’s take a moment to give a shout-out to an important part of Pump’s team. No matter what needs to be done, they’re always in the shop (sometimes even working outside in the Texas heat), ready to go, and they never complain. A few of them have been around longer than anyone remembers, and will be for years to come. We’re talking about our tools, of course.
It’s no secret that engineers love tools. We love using the new ones, the old ones, the big ones, and the small ones. Some are passed down as family heirlooms, and some make us wonder how soon we need to start worrying about the robot uprising. While we pride ourselves in our CAD abilities, product development is (and always will be) a very hands-on process. There is no replacement for evaluating physical prototypes, and to prototype effectively you need the right tools, in the right place, at the right time. Over the past 16 years of business, our shop has evolved. We’ve found what tools we like and need, how to use them creatively, and we are still changing. Along the way we have learned some fundamental things that make us better designers and engineers.
I view our tools as fitting in 4 broad categories. First, basic hand tools and hardware (the foundation of proof-of-concept prototyping), and that’s what I’m going to cover in this article.
In future installments we’ll cover the other three:
- More advanced tools like the CNC mill, the laser cutter, and our 3D printers that we use for refined models and concept validation.
- The tools we use to test and evaluate our prototypes and designs (sometimes these also fit into the first two categories).
- Finally, there is the shop itself. How we utilize the space in our shop around all these tools allows us to stay safe and efficient in a limited square footage.
We will cover each of these in their own articles, but we are going to focus here on what you need for a basic shop setup.
To set up a well functioning shop for a group of engineers, the list below will get you well on your way. Many of these are what we have in our shop, and we’ve identified what works for us at a reasonable cost–in our home shops some of us want Festool, Snap-On, or some other brand of choice. In the communal shop, utility is key. We don’t have all top-of-the-line, name brand tools.
- Drivers: Torx, Hex, Phillips, Flat
- Wrenches: Box-End, Adjustable, Sockets
- Clamping: Squeeze Clamps, Bench Vise (with soft jaws), Vice Grips
- Drills: Cordless drill and impact set, Finger Drill / Pin Vise
- Drill Bits: Jobber, Forstner, hole saws, Countersink
- Pliers: All types and sizes
- Cutting Tools: X-Acto handles and blades, utility knives, deburring tools, files
- Measuring: Caliper, tape measures (we love this one with metric indications),
- Squares: Framing, Speed Square, Drywall Square (great for large sheets)
- Electrical tools and supplies: Wire strippers, soldering station, DMM, DC Power supply, heat gun
- Hardware: Get an assortment to start and build from there
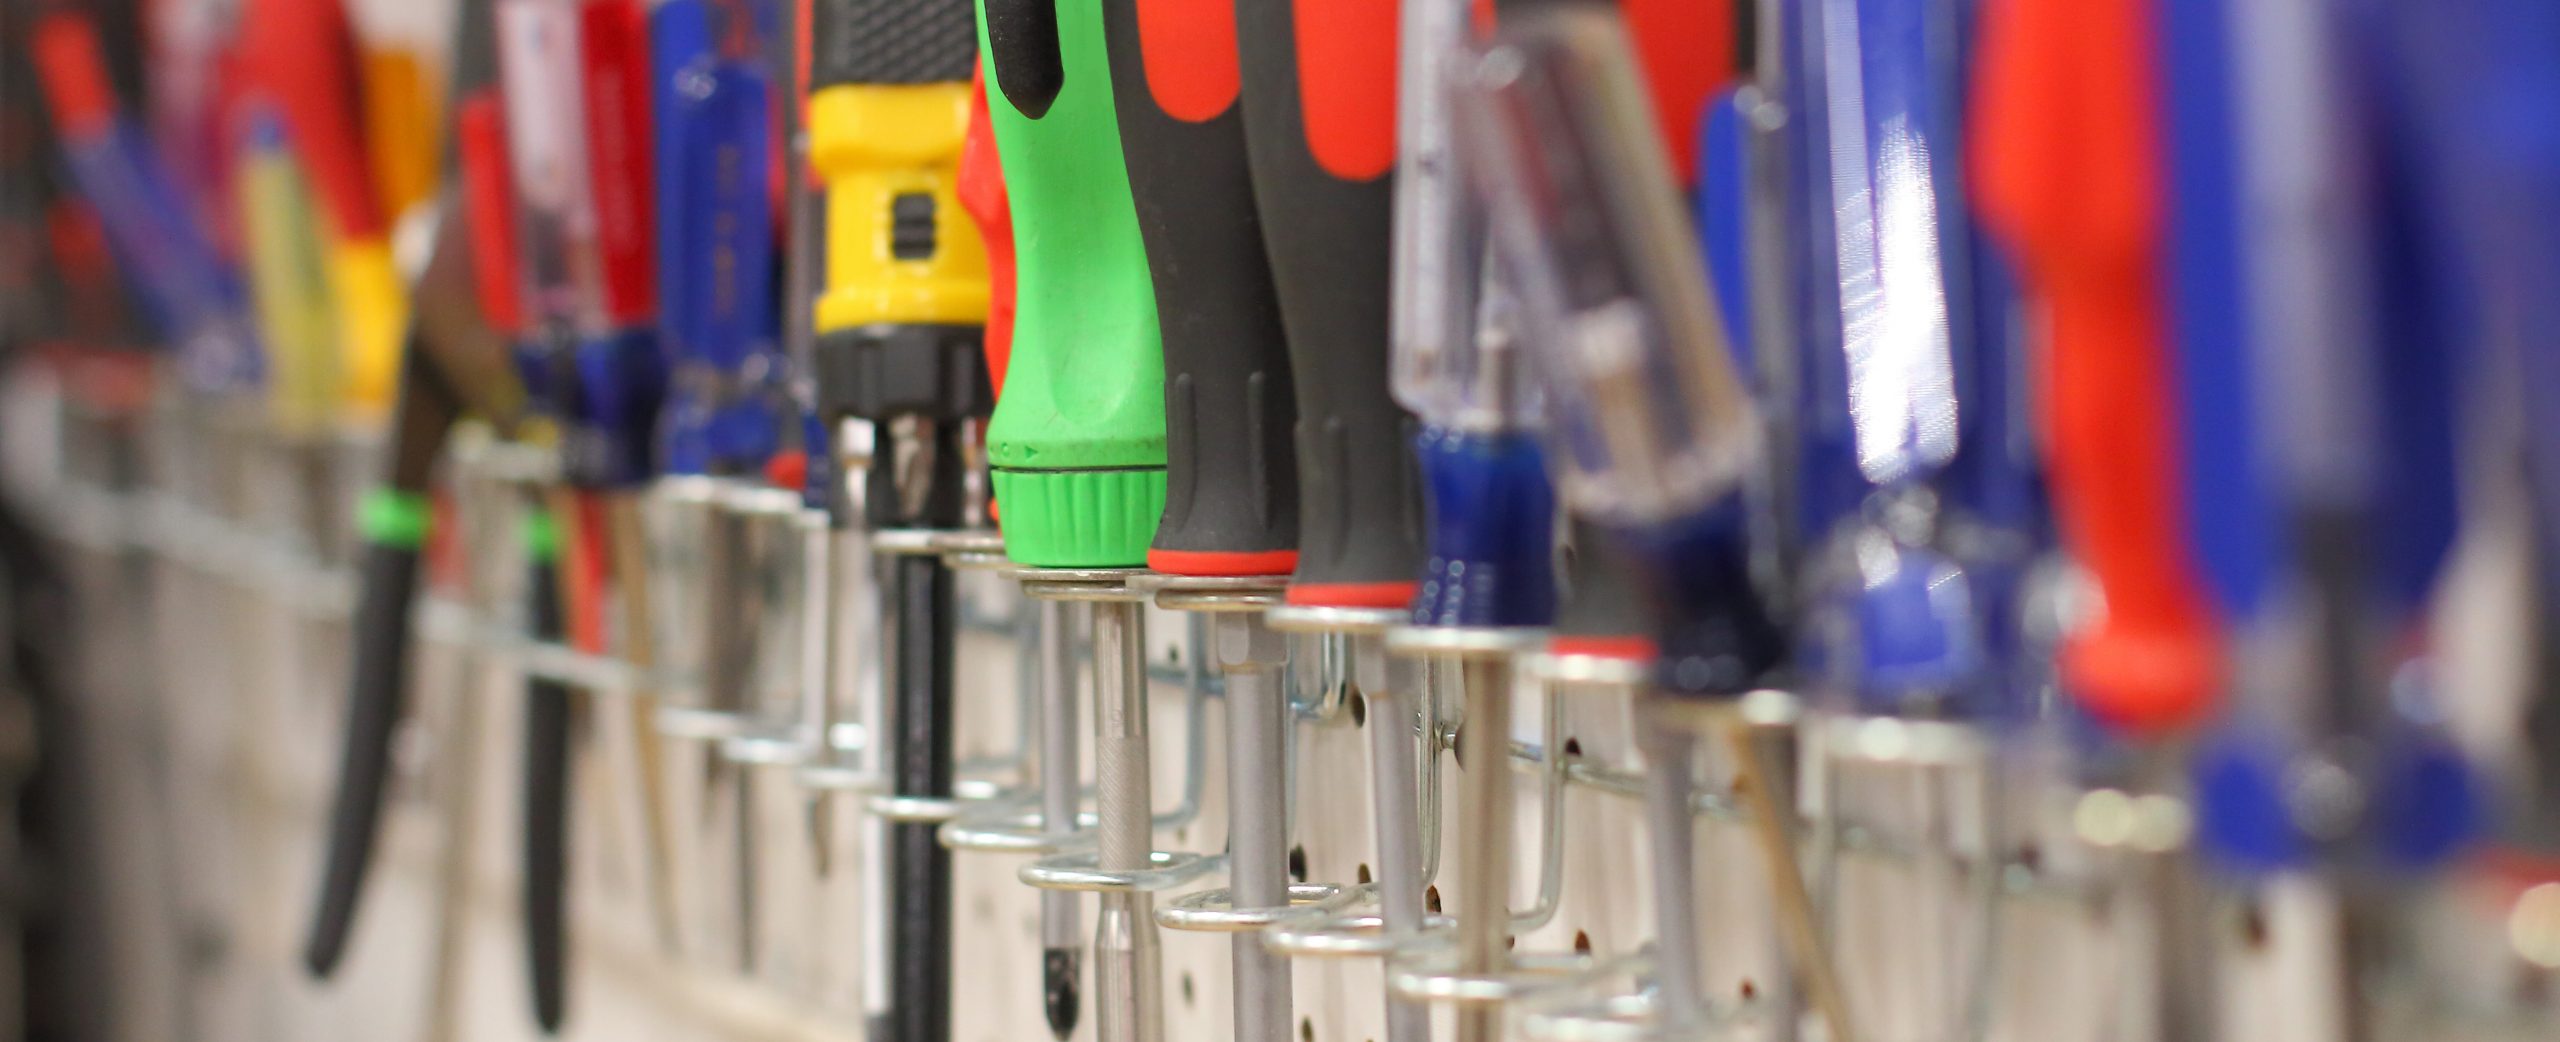
If I were to think of three things that we use more than anything else they would be, hand drivers, drills and bits, and our hardware collection.
For drivers we have a collection we’ve accumulated over the years, but specifically we’ve found Gear-wrench screwdrivers hold up over time, have a nice feel, and provide a good array of sizes. Our Torx set came from McMaster-Carr years ago and has lasted beautifully. Having a compact set of allen wrenches is great when you don’t know what size you need, but we also have a set of T-Handle hex keys for repetitive assembly/teardown work. A set of security bits is key to tearing down all the competitive products we get into, and have come in valuable over and over. In fact we save any ¼” bit we can find because invariably we are tearing something down and find it has some obscure screw head that we can find in our collection.
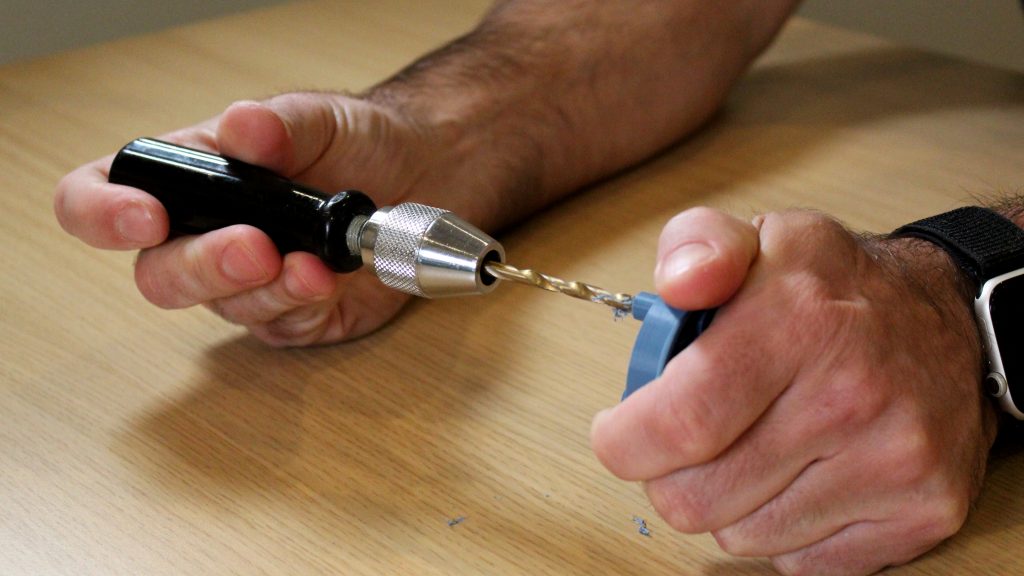
Our Ryobi cordless drill/impact driver set fits the bill for most hole cutting jobs, but considering we frequently handle small and delicate parts, a cordless drill is both overkill and dangerous. The pin vise ,also known as a finger drill, allows us to very carefully remove material in delicate prototype parts and bring holes to an accurate size for their intended function. As far as drill bits go, the more sizes the better. The basic machinist sets like the one listed above is a great start, but you will find you lose/break more bits than you ever imagined. We suggest supplementing with both metric and inch sets that have multiples in each size, as bits get broken or lost you can restock where needed. Our shop is a work in progress. Someday I would love to see one of these dispenser cabinets fully stocked.
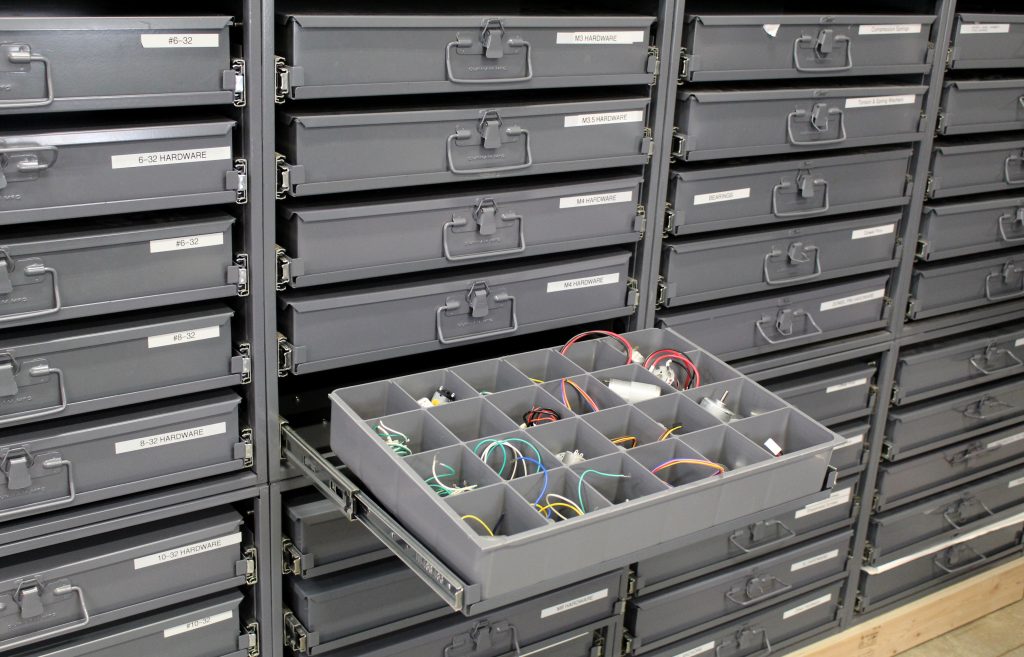
Hardware has a special place in our shop, and in our hearts. Because every prototype needs just the right size and type of hardware, and hardware is generally sold in quantities larger than we need, we’ve accumulated an impressive variety. By organizing hardware by size, we now have most of what we need, easily accessible as we prototype on the fly. We’ve found that 5-drawer modular steel racks, with steel boxes and various inserts work great. Our hardware wall is expandable, flexible, and we can either slide out the tray and search quickly in place, or we can take an entire box to a work-surface to find exactly what we need.
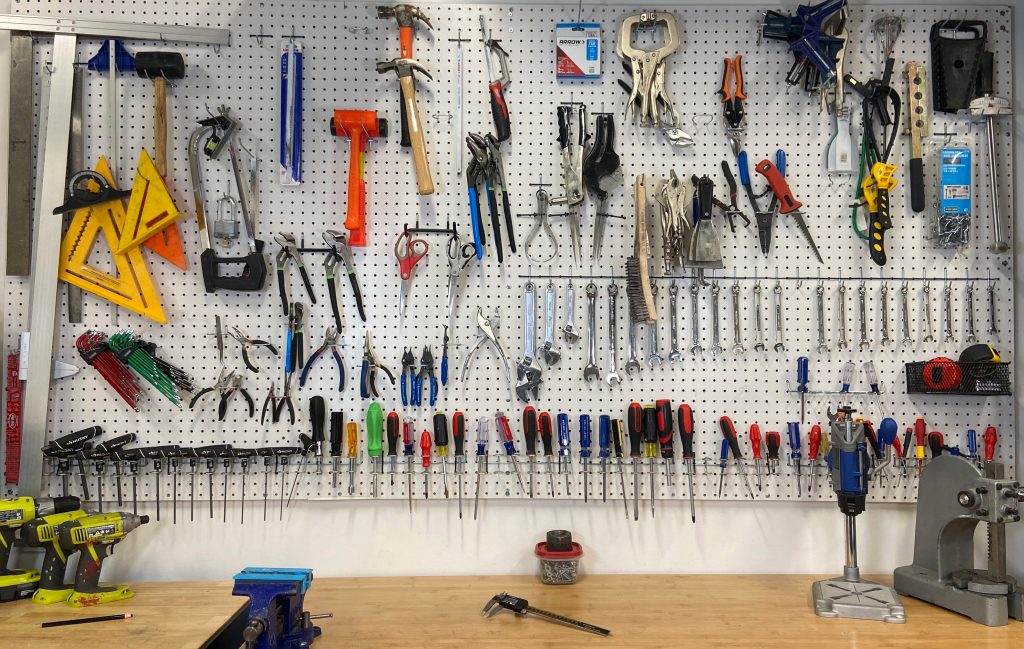
Where these tools live is as important as what they are. We have enough thoughts on this for an entire additional chapter, but at a high level:
- We keep tools where they will be used, and the most commonly used tools visible, like on a pegboard.
- Less used tools live in drawers and cabinets to keep surfaces clear.
- Keep tools safely away from high speed moving parts. At our lathe I built a french-cleat “backboard” which keeps chucks, keys, cutting tools, within reach, but well away from high speed moving parts.
- A place for everything, and everything in its place. At least that’s the goal, we are usually busy (and human).

Spend some time hanging around old-school engineers and machinists and you’ll get a front-row seat to a level of creativity that rivals a studio art class. The choice of language may be more colorful than the end product, but the ingenuity is present all the same. They’ll whip up fixtures that cut production time in half, and they could probably create an air filter using a tube-sock and zip-ties (Houston, we no longer have a problem). Experienced makers can take one look at a problem and immediately devise a game-plan of tools to steer towards the solution. If we could read their minds, we’d probably see a hamster wheel turning followed by the words “CENTER PUNCH, DRILL, TAP, BREAK EDGES”. There’s a call and report to the whole process and part of having experience is knowing how to respond to the tools. Just like any physical product, if it’s designed well, it should be an absolute joy to use, and a sharp drill bit can have anybody looking at swiss cheese thinking “that cheese needs more holes”. There is so much more we could say about tools, such as when to use the laser vs. the 3d printer, and which desktop 3D printers work best for the design studio, but we’re out of wordcount. Stay tuned and we’ll dive into more next time. Happy tinkering!